Lenovo ThinkReality A3 Dev Kit
This guide applies to motorola edge 30 pro and motorola edge+ phones connected to the Lenovo ThinkReality A3 device.
Before using the A3 Kit for the first time, the motorola edge 30 pro (motorola edge+) needs to be up to date and there are several required apps that must be installed from the Lenovo ThinkReality Cloud. These apps will be automatically installed once the phone is registered with the ThinkReality Cloud as part of Step 7 below. Finally, a glasses firmware update is also required, which will be automatically installed as part of Step 8.
Step 1: Unbox and Setup the Phone
Follow the standard Android steps to set up the phone and connect it to a Wi-Fi network with Internet access.
Step 2: Download All System Updates
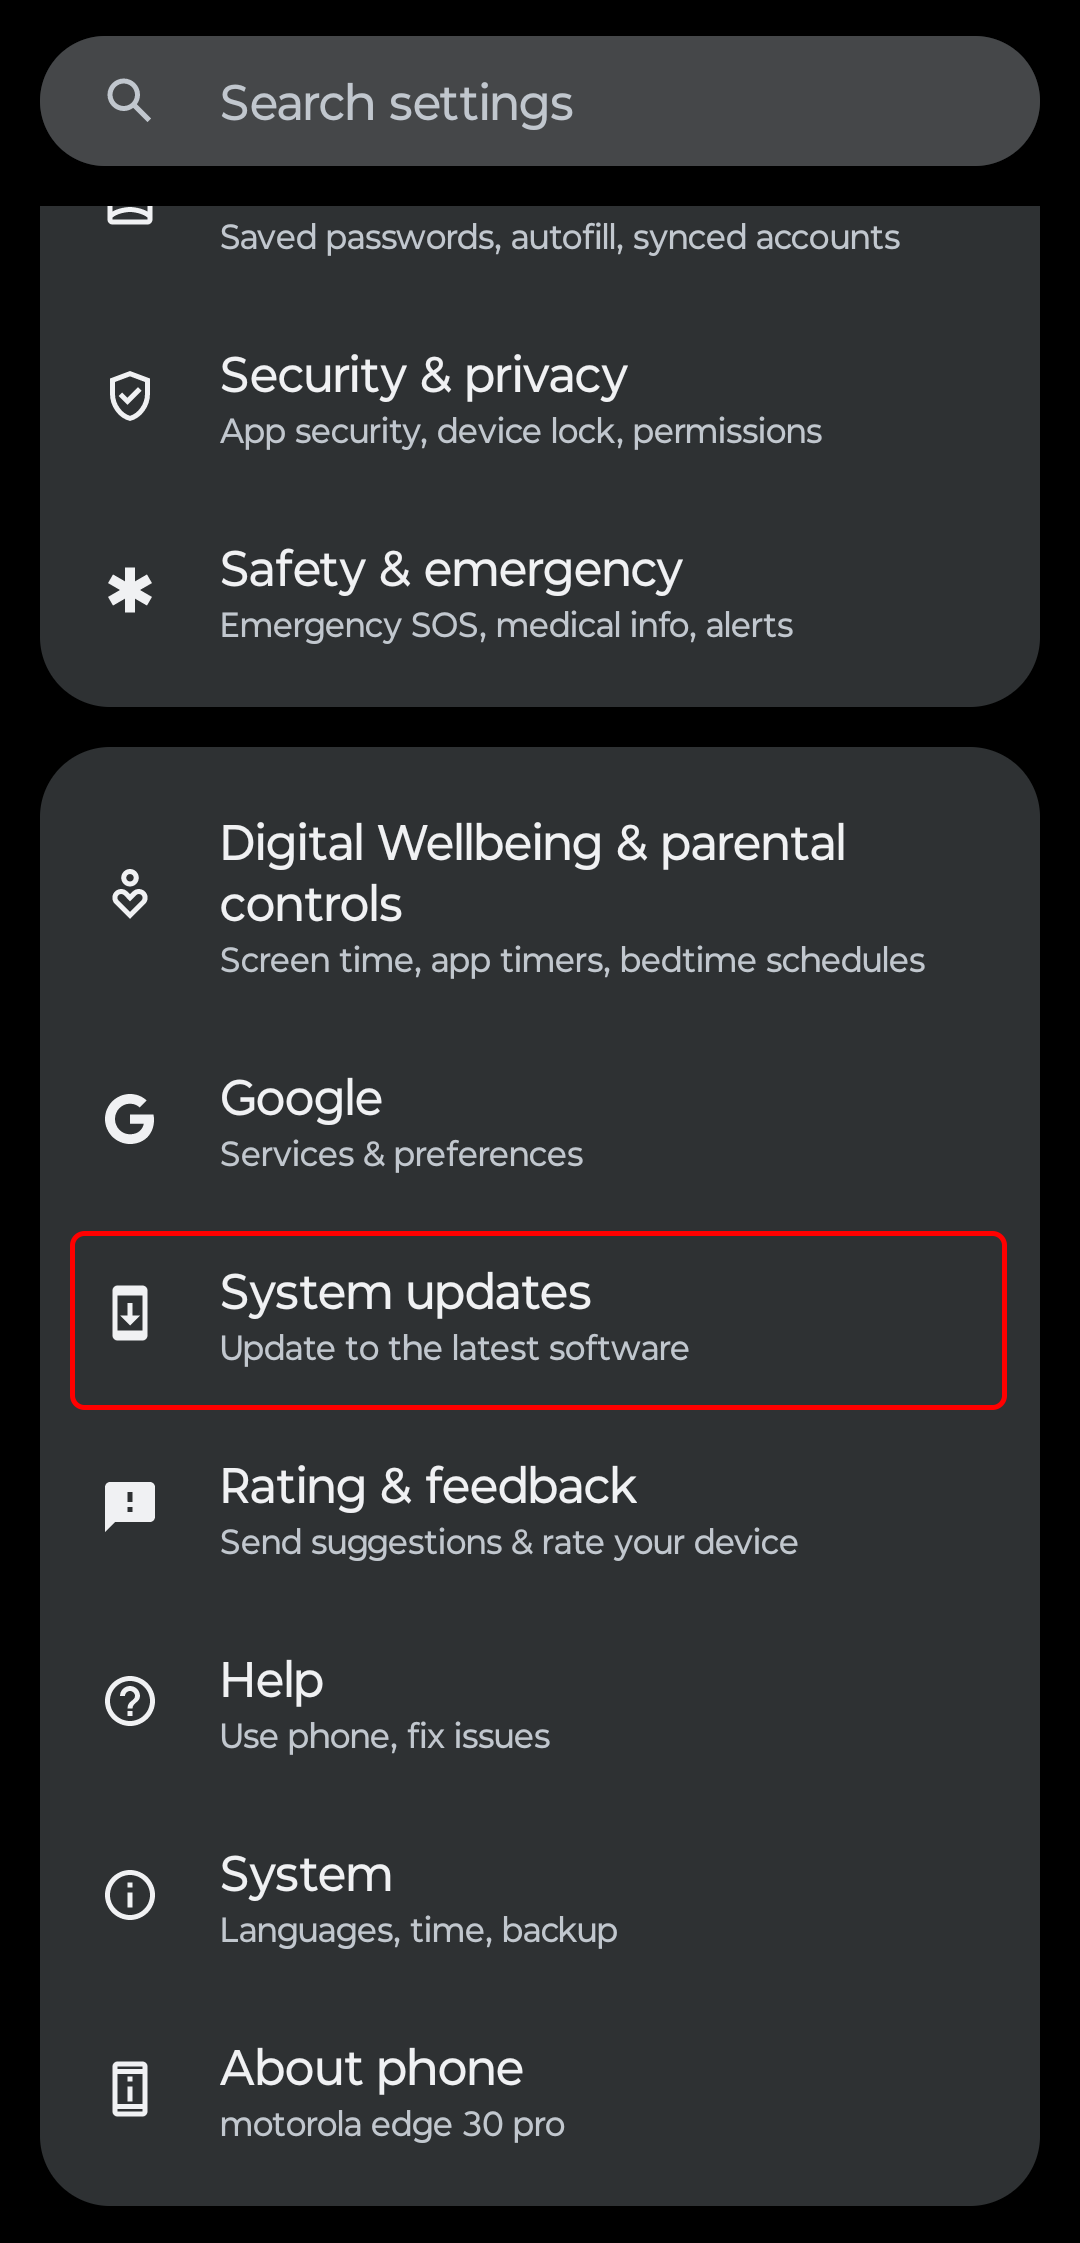
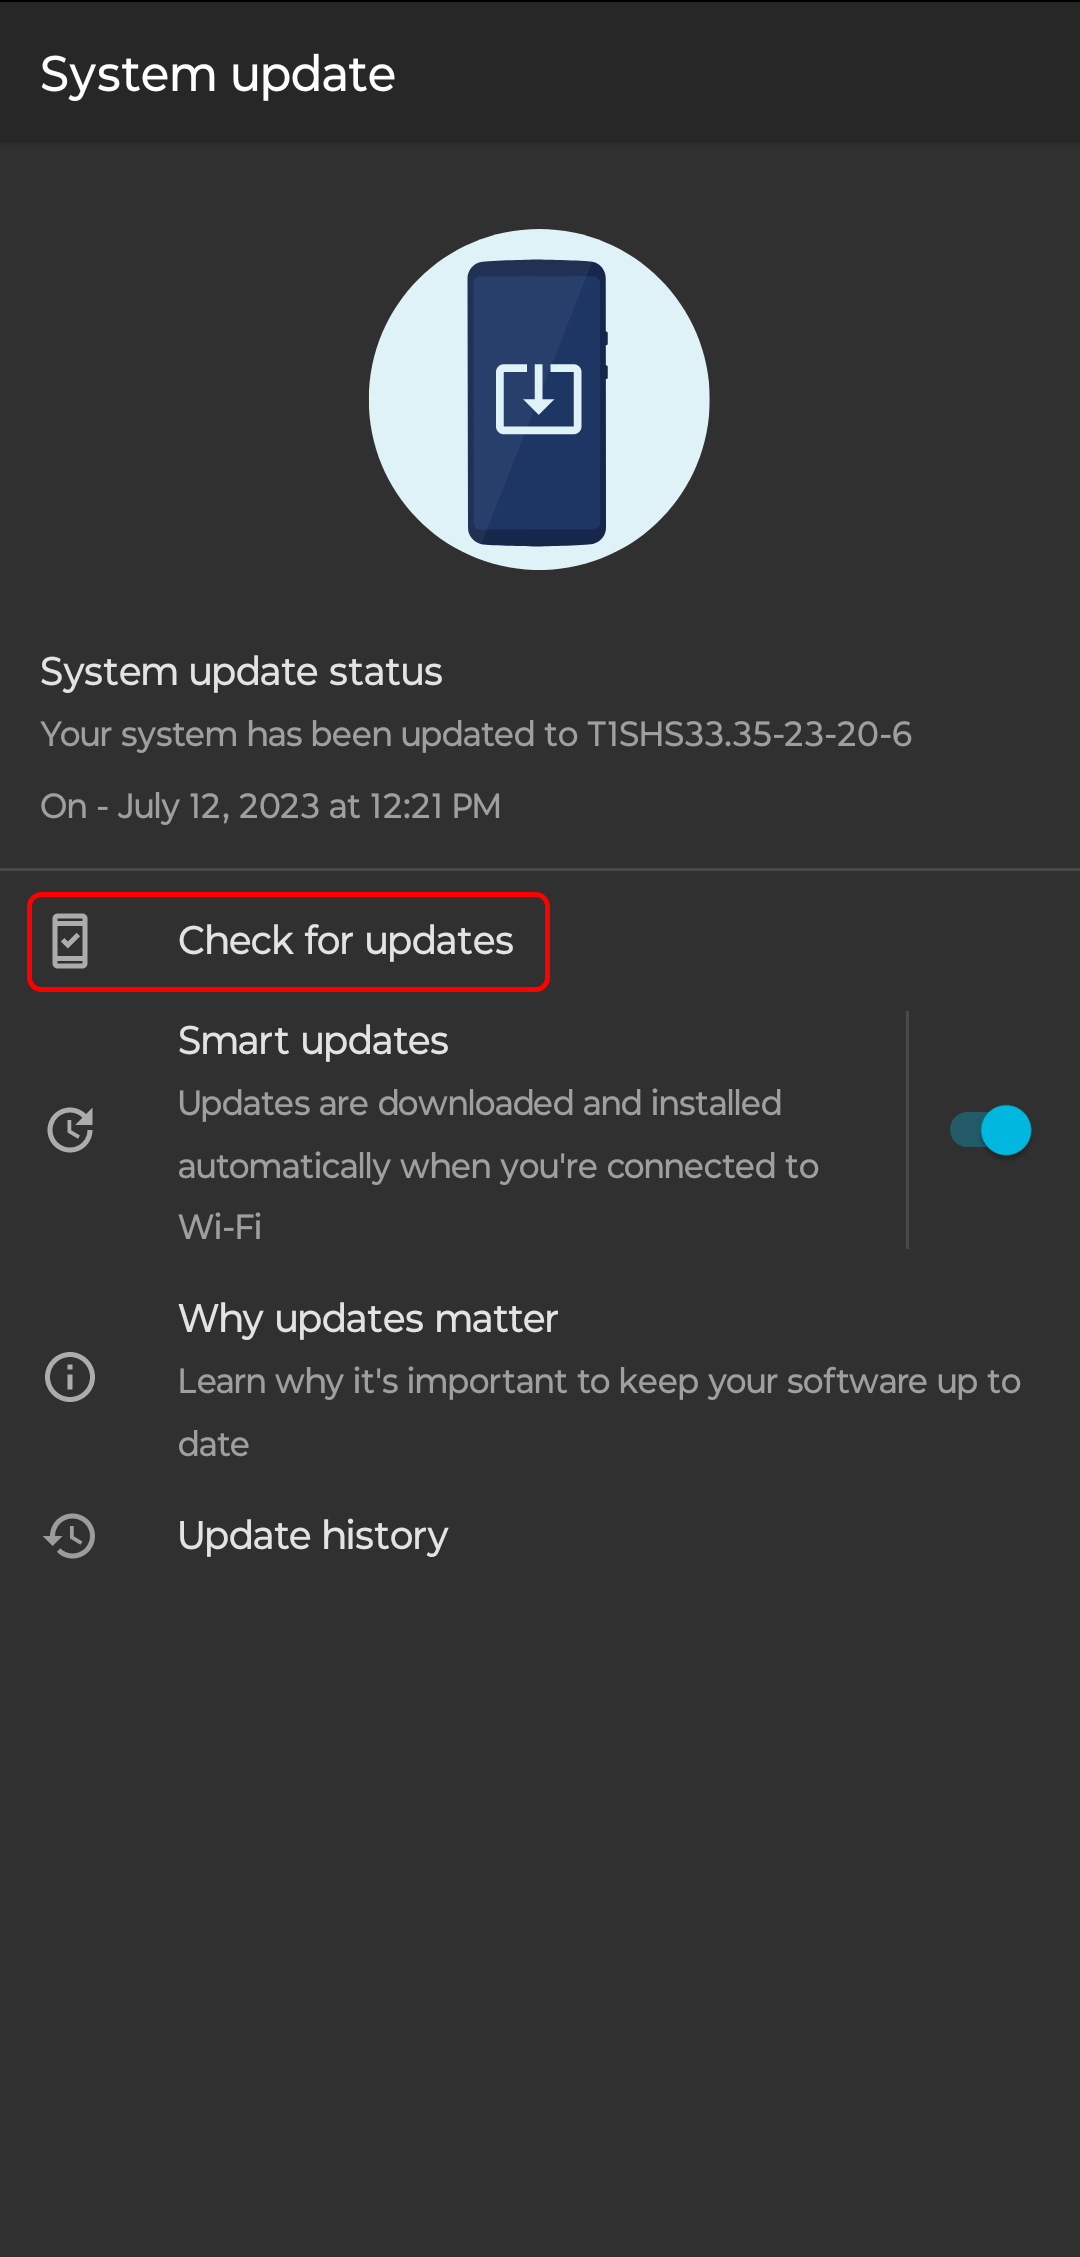
Once the phone is setup, visit Settings > System updates > Check for updates to ensure that the mandatory updates have been downloaded and installed. The minimum requirement for running Snapdragon Spaces apps is Android version 13 with software version T1SHS33.35-23-20-6.
The Android 14 update will cause compatibility issues on all Motorola Edge 30 pro, Edge 40 pro, Edge+ (2022), and Edge+ (2023) devices.
Until further notice it is recommended to keep all Motorola Edge phones on the latest available Android 13 version.
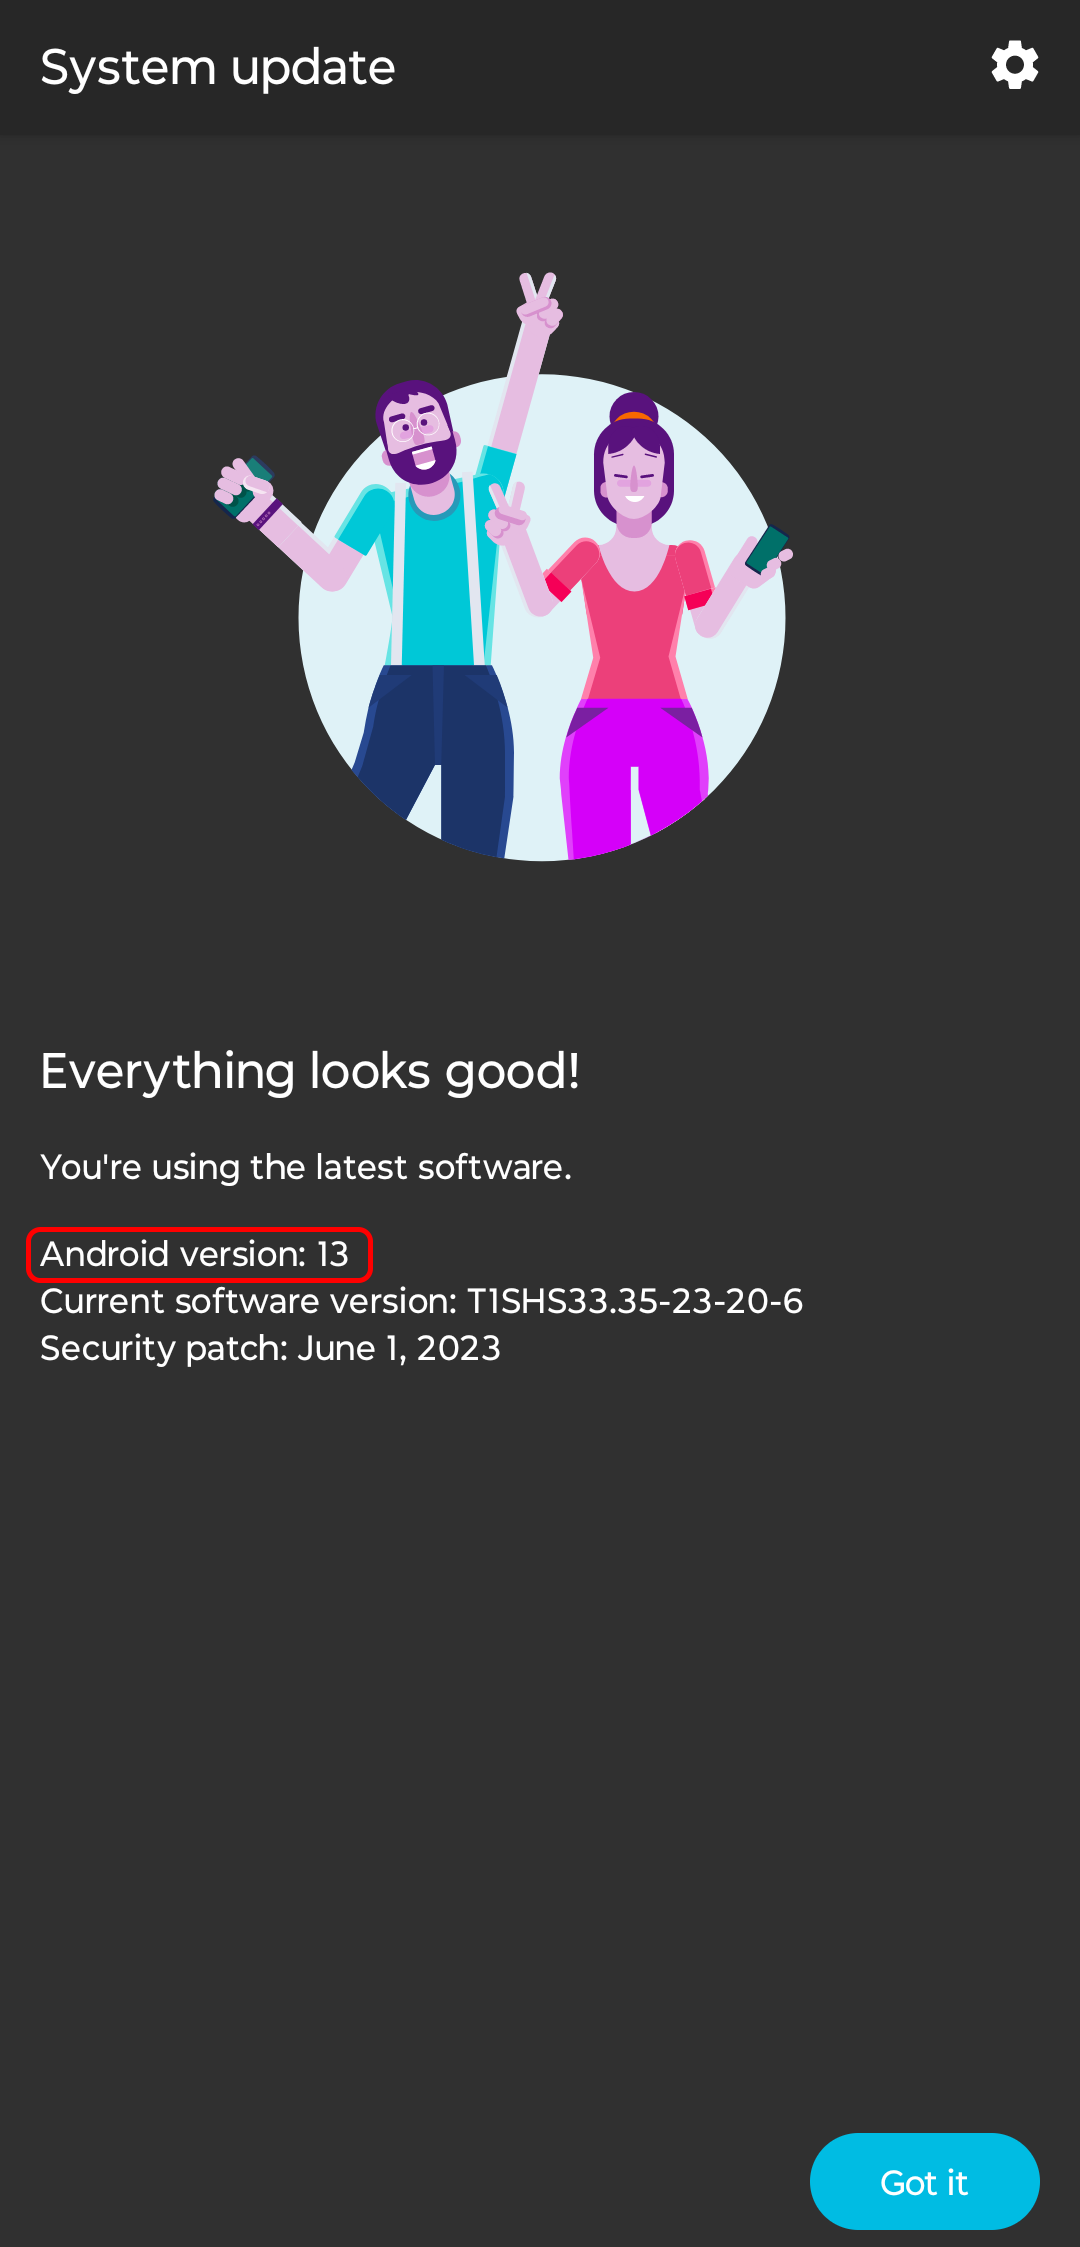
If the System Updates screen shows "Everything looks good!" but the software version appears to be lower than the minimum software version as stated above, please contact support with the information requested in the troubleshooting guide.
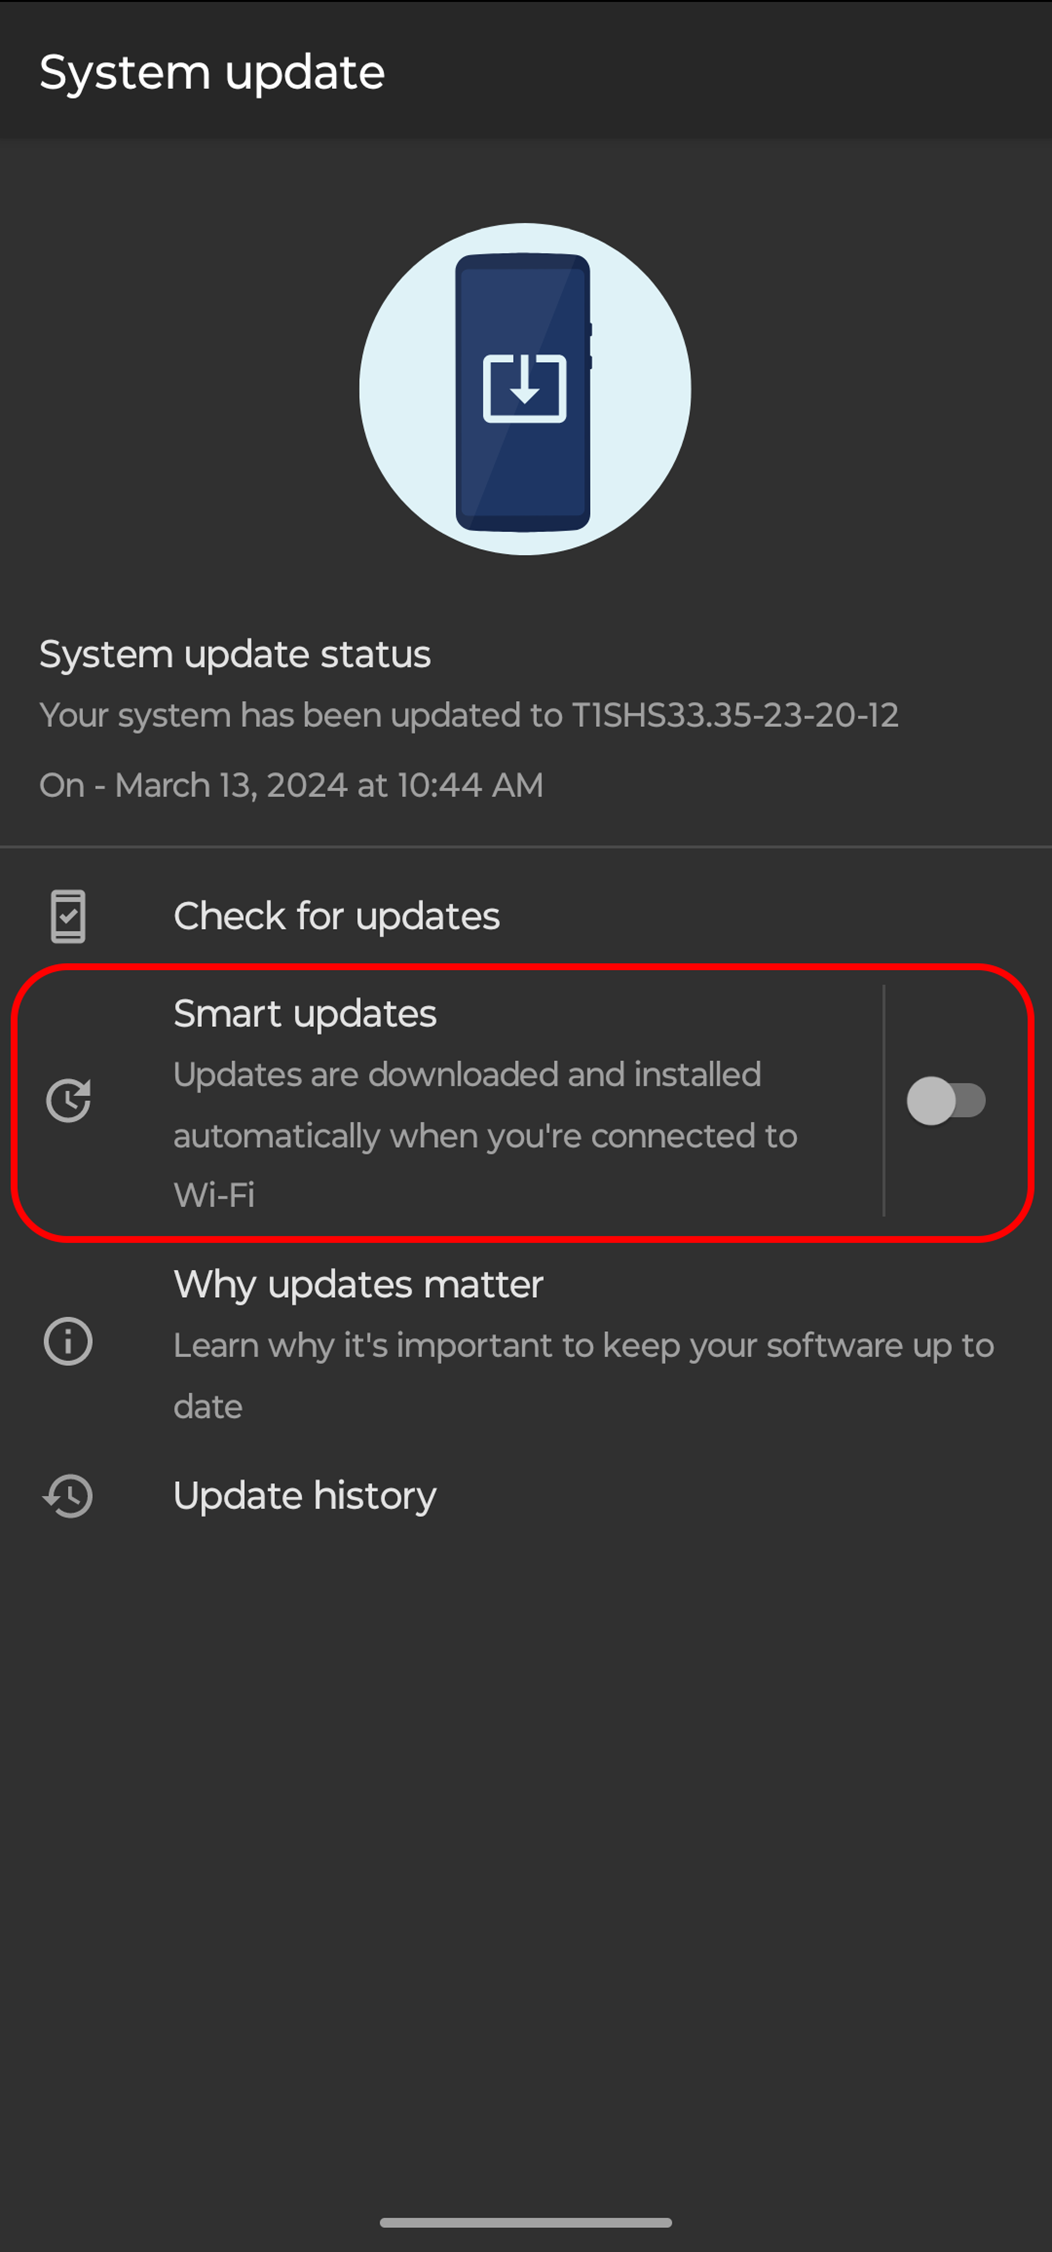
Future automated updates of the device can be disabled via the toggle found at Settings > System updates > Smart updates.
Step 3: Connect the A3 Glasses to the motorola Phone
Connect one end of the USB Type-C cable into the USB-C port on the motorola phone. Next, connect the other end of the cable into the USB-C port on the left arm of the A3 glasses.

Step 4: Launch the Lenovo Universal Device Client (UDC) app
The Lenovo UDC App is installed with the latest software releases from Step 2. The app icon will become visible once the A3 glasses are first plugged in. Connecting the A3 glasses to the motorola phone for the first time will enable and launch the UDC app automatically.
Once the UDC app is enabled, disconnect the A3 glasses. Reconnect the A3 glasses later in the setup procedure to receive any glasses firmware updates.
Do not download the Lenovo UDC App from the Google Play Store, as that version does not include the updates required for Snapdragon Spaces development.
Step 5: Accept UDC Terms and Permissions (Steps 1, 2, and 3 within UDC App)
Complete the UDC registration Steps 1-3 as prompted in the UDC app.
When reaching UDC registration Step 4, do not manually register the device through the UDS Portal. Ignore any prompts for a Lenovo ID or for a Lenovo Organization ID.
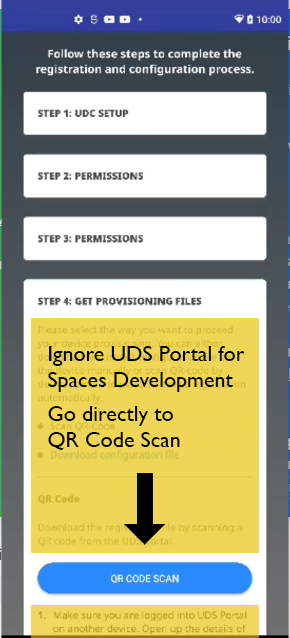
Step 6: Scan the QR Code to Register the motorola Phone
Complete UDC registration Step 4 by scanning the following QR code below.

If an error occurs in registration, this device may have been previously registered and this device's serial number may need to be cleared from the backend portal. This will also happen if the device is reset back to factory settings.
In either case, go to https://spaces.qualcomm.com/settings/, logging in if necessary. Follow the directions under section Serial Number of Phone and select "Clear My Registration" to submit the serial number for clearing. Once manually processed on the backend, an email will be sent confirming device clearing allowing for resubmission of the serial number, at which point repeat this step.
Step 7: Accept App Install Prompts
Once registered, the Lenovo Universal Device Client may auto-update, and certain ThinkReality apps may automatically be installed onto the motorola phone, or some of those apps may prompt for installation from the Universal Device Client. It is recommended to accept these install prompts. Apps may include some combination of the following listed titles, and these names may differ slightly in certain geographic regions.
- A3 Home
- App Space Service
- AR Cast
- Companion
- Model Viewer
- TR Cast
- TR Home
- TR Hub
Make sure to accept all app install prompts on the motorola phone. Additionally, some apps may request Display over other apps permissions. Note that these apps are part of Lenovo’s ThinkReality suite and are not used in actual Snapdragon Spaces development but are recommended for general device use.
TR Hub is required to continue. If TR Hub has not yet been installed, continue to Check for Updates in the UDC app until TR Hub is installed onto the phone.
Step 8: Complete all A3 Glasses Firmware Updates
If the glasses are still plugged into the phone, disconnect them at this time.
Plug the glasses back into the phone and open the TR Hub app. It will open a prompt for updating the glasses firmware. Select YES to accept the update. Selecting NO will disable the prompt for 24 hours.
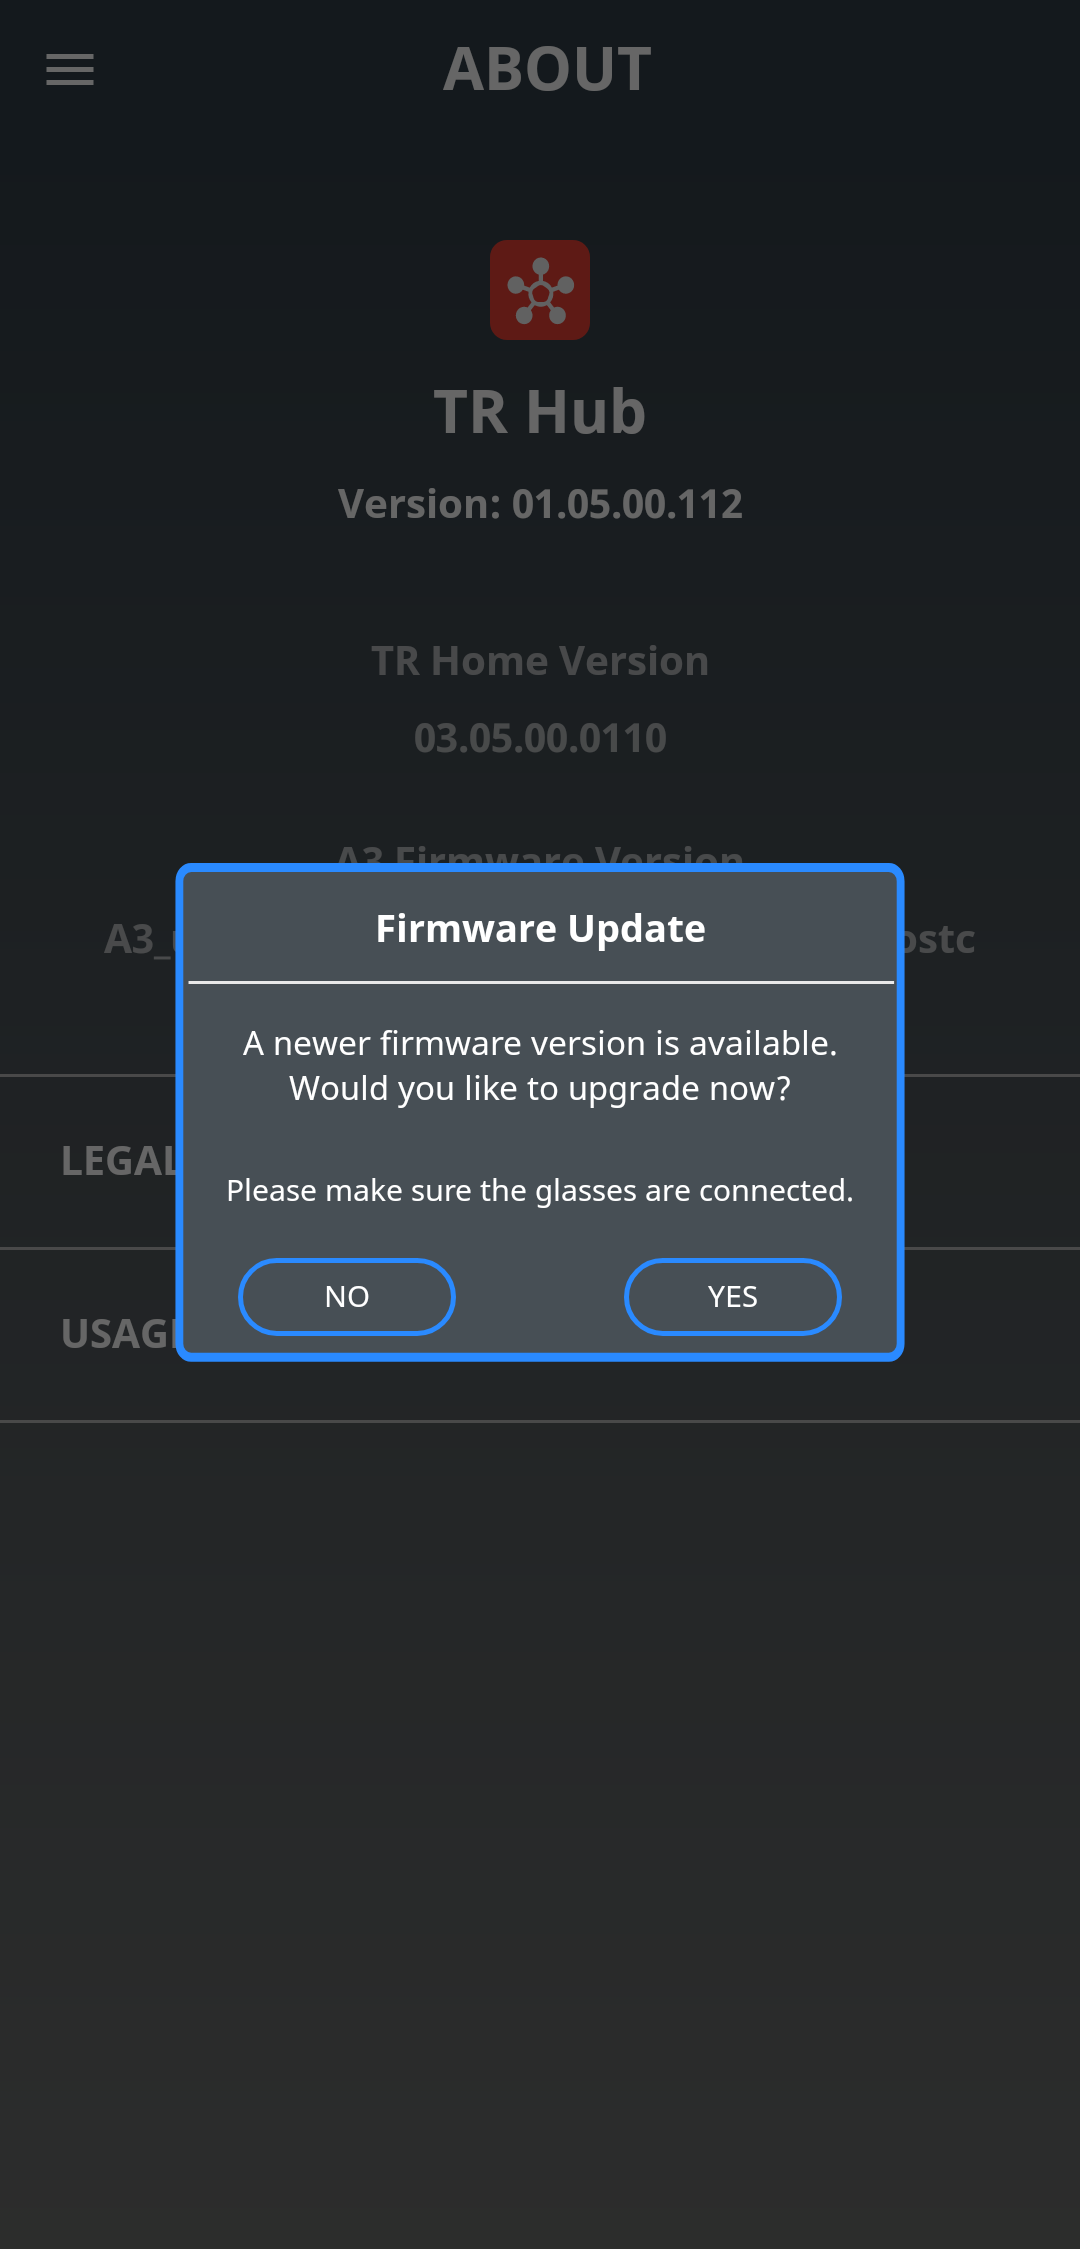
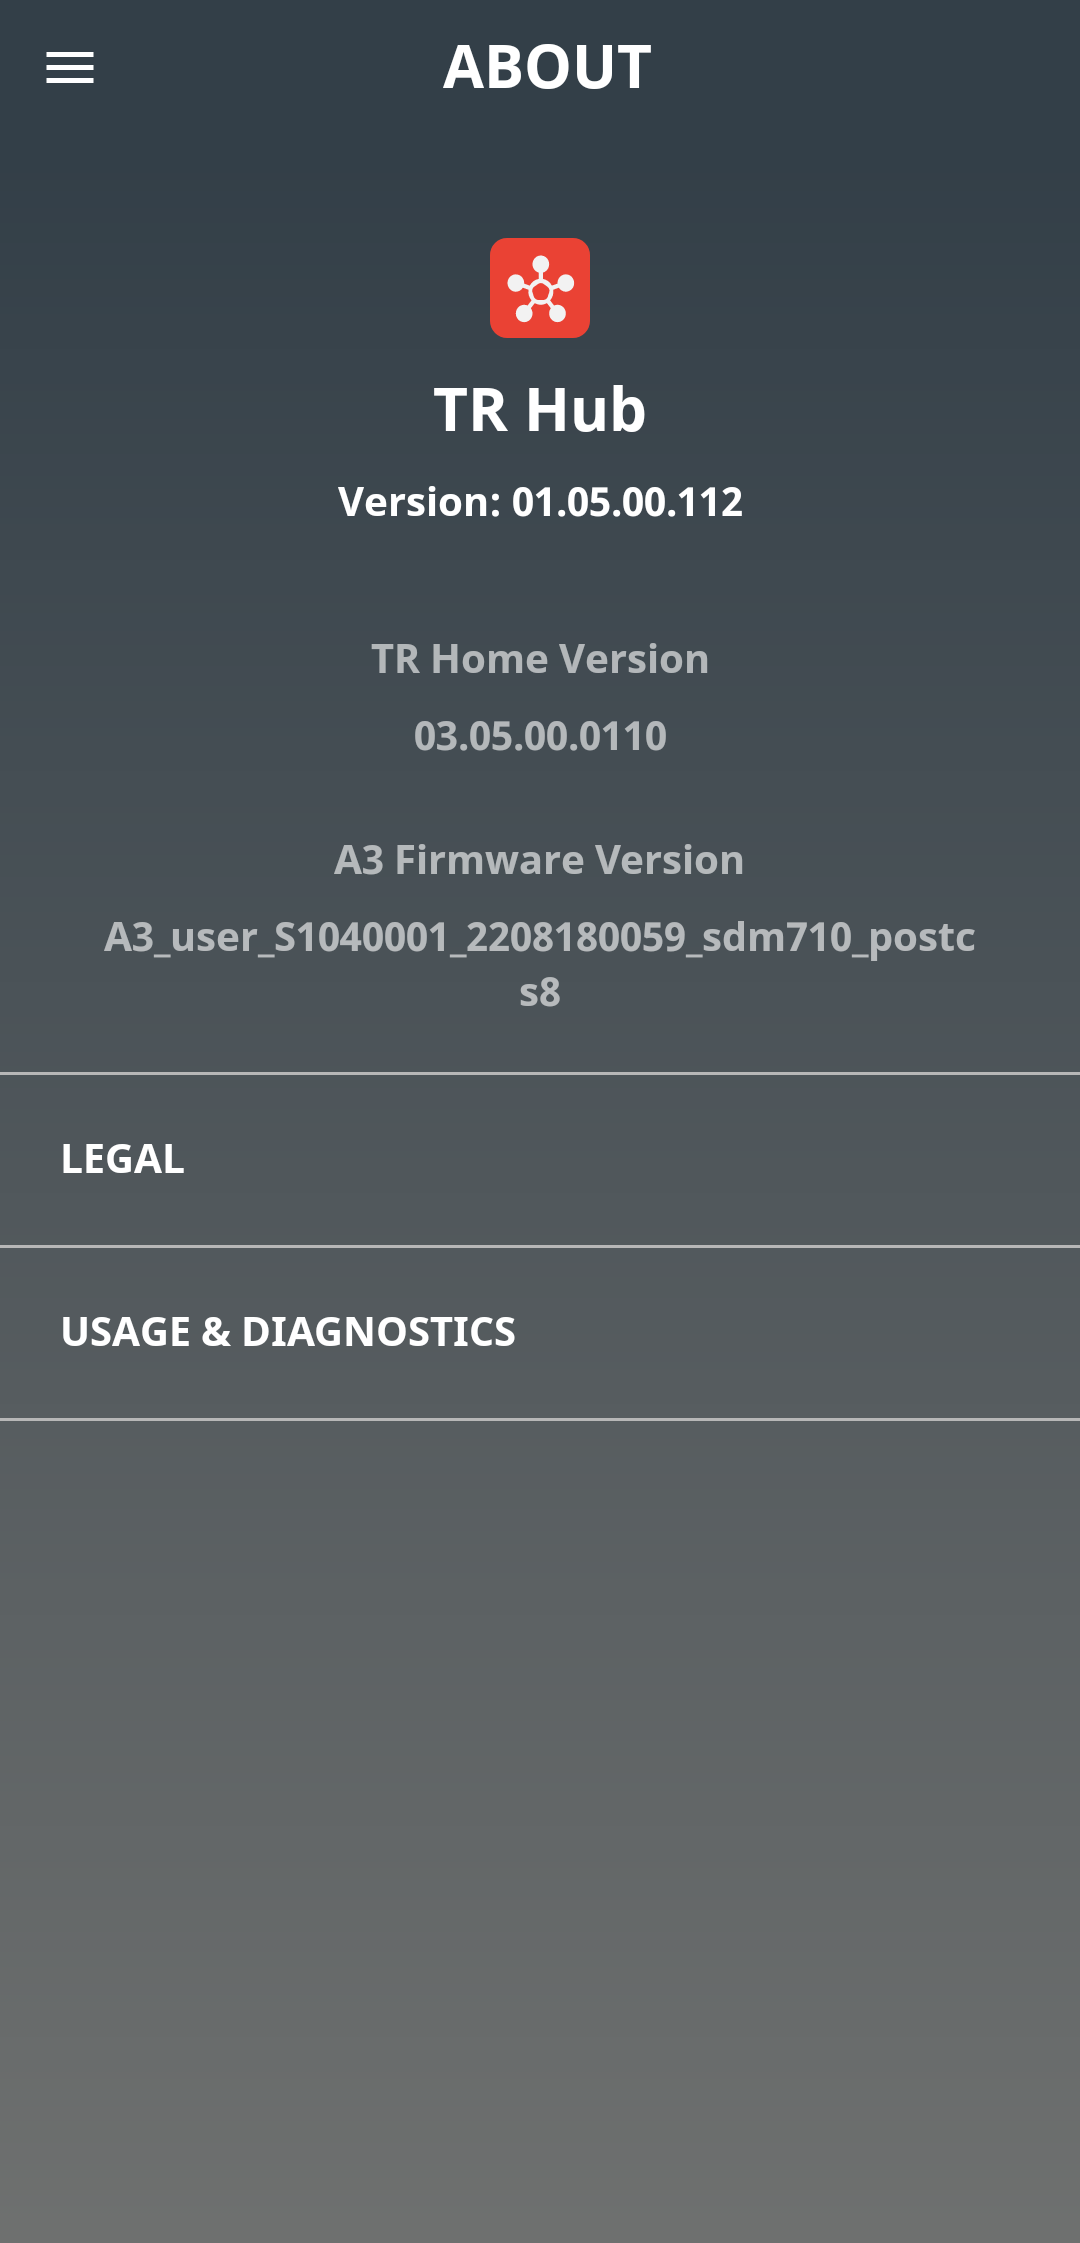
If the prompt to update doesn't automatically appear, open the app menu in the TR Hub app, go to the About section, and check the A3 firmware. Plugging in the glasses here can also prompt the update window to appear.
The A3 firmware can be found under A3 Firmware Version when the device is plugged in. The firmware version will be displayed if the glasses are successfully connected to the phone.
If the glasses aren't recognized by the phone and a disconnected icon with the text support.lenovo.com/thinkreality is visible, unplug the glasses, restart the phone and try again.

The correct A3 glasses firmware may differ slightly as firmware updates are rolled out over time. This box represents the minimum usable A3 Firmware to proceed.
Minimum Firmware Version: A3_user_S1127001_2303071610_sdm710_postcs8
Step 9: Spaces Software Setup
Developers should follow the directions in Launching Apps to install the Snapdragon Spaces Services apk along with the Unity or Unreal Samples by downloading the files from their respective SDKs and using the android developer tools to sideload.
Setup Complete
The Lenovo ThinkReality A3 should now be ready to use.