Hit Testing Sample
This sample demonstrates how to hit test against points and planes found in the real world.
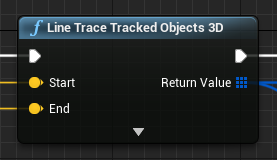
For basic information about hit testing and what Unreal Engine's Line Trace Tracked Objects 3D node (seen in the image below) does, please refer to the Unreal Engine documentation.
In order to use this feature, it has to be enabled in the OpenXR plugin settings located under Project Settings > Snapdragon Spaces plugin.
Additionally, the Plane Detection feature also has to be enabled for hit testing to work properly. To get more accurate hits, enable the plane detection feature's Use Convex Hull Detection option in the AR Session Config.
How the sample works
While the sample is open, a gizmo is in front of the user all the time and a raycast is launched on each tick. If it returns a successful hit result, the gizmo moves to the hit pose and is displayed in cyan, yellow and magenta colors. If no hit was detected, the gizmo moves one meter in front of the head pose and turns red.
Hit Manager
The sample uses the BP_SpacesARManager_HitTesting blueprint asset (located under SnapdragonSpacesSamples Content > SnapdragonSpaces > Samples > HitTesting > Placeable) to handle hit testing in the sample map.
To enable and disable hit testing, the Toggle Spaces Feature method must be used with Hit Testing as the feature.
There are several options for the developer to customize the rays for hit testing:
- Distance Ray Cast: Length of the ray.
- GizmoTag: Name of the tag defined in the SceneComponent in
BP_SpacesPawnfor placement a.k.a. the white gizmo in the samples. - Distance Gizmo: Distance from the head pose to the placement object.